If you have read my previous posts about my trip to West Zealand, Denmark to teach about my weaving method and practise, you will know that while I was there I fell in love with the Danish dietary staple Rugbrød or Rye Bread. So much so that when I came back to England I just had to work out how to make it.
Its like a pumpernickel but oh so much better. Its both tart and sweet at the same time, richly textured, oh so dark, and most of all deeply satisfying to eat. Stomachs feel comforted, appetites are utterly satiated and one can work for hours without ever feeling a pang of hunger.
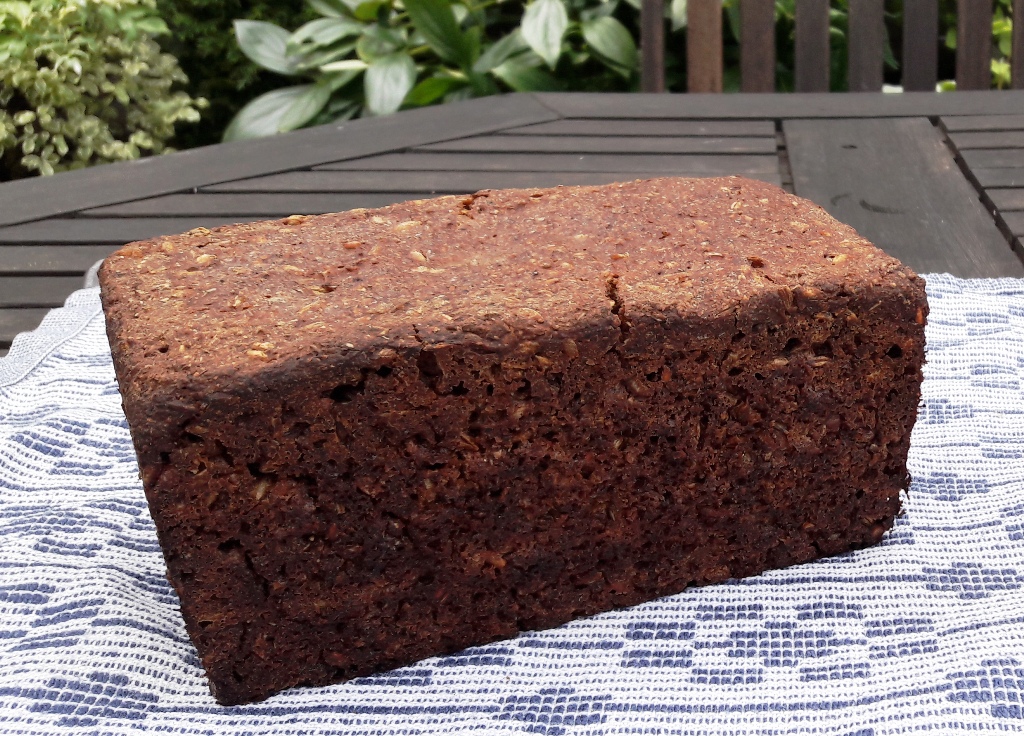
If you are one of my friends, or a fellow member of my local Bread Club, you will have heard nothing but how wonderful this bread is and will have tasted it too! So as promised I am going to share my recipe and how I make my Rugbrød with you.
But before I do I just want to share with you some of the interesting things I found out about rye when I came home, and which bear out my own observations about this highly delicious grain.
- eating rye bread reduces body weight as compared with bread made from wheat
- it’s low in gluten and low in fat, but high in fibre
- it lowers insulin levels helps control blood sugar levels
- it decreases hunger and the desire to eat
- it may also reduce inflammation and down-regulate harmful genes
- it can keep for weeks and even months if properly stored
- it’s also a environmentally good and useful crop as it will grow in very poor soil and at low temperatures
Sources: The Whole Grains Council, OrganicFacts.net, Wikipedia – Rye, Wikipedia – Rye bread, Wikipedia – Rugbrød
Madeleine’s Danish Rugbrød Recipe
125 grams rye grain
125 grams of cracked rye and malted kibbled rye (50/50)
150 grams dark rye flour
400 grams rye sourdough (100% rye)
50 grams boiling water
Large tablespoon of malt extract (barley)
Instructions
Day 1
Pour enough boiling water over the rye grains to cover and soak for about 12 hours or overnight. I like to start this in the morning so I can cook in the evening.
Using the soaking water, bring the rye grains to the boil and cook until just tender. I boil up the rye for 5 – 10 minutes just before going to bed in the evening and then leave it over night. In the morning the grains have swollen and are just perfect for the next stage.
At the same time that you set the rye grains to soak, pour the 50 grams of boiling water over the 50/50 mix of cracked rye and malted kibbled rye and leave it to soak. It will only just be moist but I promise you that you will not want to add more water than this or you could end up with sloppy dough later on.
You may also need to revive your sourdough (read below about starting off a sourdough). If it is looking a bit sleepy – it may have a little liquid sitting on the surface which you can drain off, and it may look a bit flat and lifeless – then do the following. Leave it out over night and stir in a bit more flour (and water if necessary). It’s really important not to get it to wet at this stage as your dough will end up too wet. It should look something like thick porridge.
Day 2
The following day, combine and mix all the ingredients. Do not bother trying to knead the dough because all you will do is get your hands covered with very sticky stuff that simply does not want to come off… ever! Your dough should be of a stiff dropping consistency – that is to say if you scoped up a big tablespoon full of dough and turned your spoon to drop it, it would stick and only drop after counting to 20 or so.
Set aside 100 grams of this mix to refresh and make more sourdough for the next Rugbrød. Later, when the bread is in the oven put your sourdough into a clean lidded tub, stir in some water and wholegrain rye flour and put it back in your fridge. Feed it again every few days and by the time you are ready to bake another Rugbrød you will have sufficient sourdough to begin baking again.
Depending on how good your loaf tin is in terms of being non-sticking you now have two choices. If in doubt you can grease and line the loaf tin and tip in the mixture. My tins have been used constantly for years because I bake all my own bread and I just butter the tin quite liberally.
Pour in the mix. Spread it out in the tin and make sure there are no air pockets using a spatula or other broad flat implement. Then smooth it over by wetting the spatula. You will find that it leaves the top of the dough glossy and smooth.
Leave to rise until near to doubled in size. Depending how lively your sourdough is this could take an hour or several hours, just be patient. Keep the dough covered so that it does not dry out. If it does it will stop it from rising properly and evenly. But don’t worry if this does happen, simply repeat the smoothing stage with the wetted spatula and cover again.
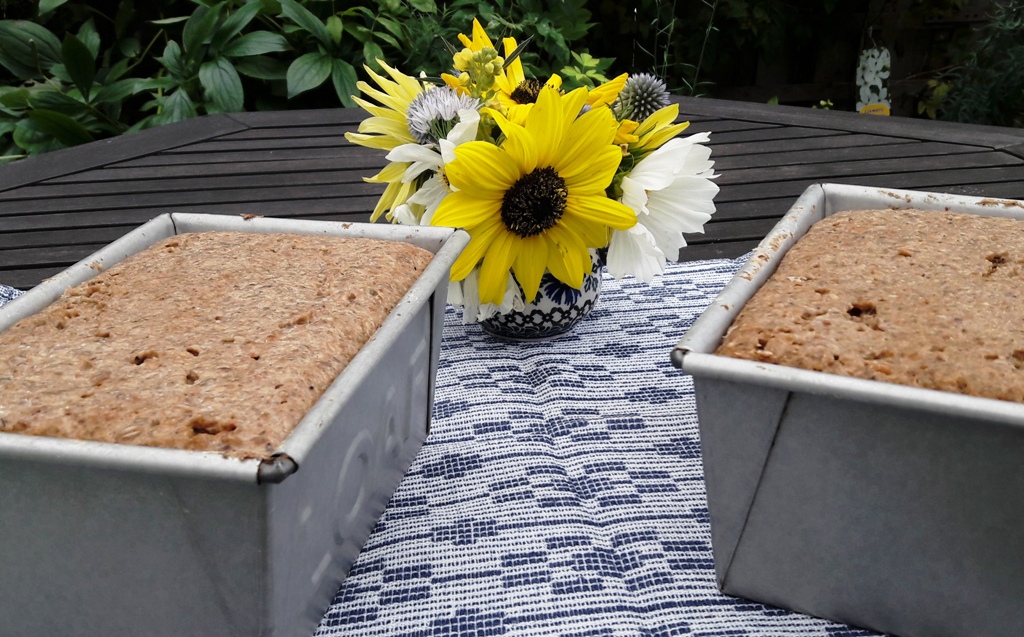
Whatever you do don’t poke it to see what’s happening. Rye doesn’t have much gluten which is great for those who don’t tolerate it well, but not so great from the perspective of trying to get your dough to rise. If you poke it then it will simply collapse.
This is also why I don’t leave the dough to rise, knock it back down, and let it rise again. The poor old rye just doesn’t have it in it to rise a second time. So don’t waste its energy treating it like a grain like wheat which can take this.
By the way, that bread cloth is one my handwoven Swedish cotton towels. It is woven in Dukagang – an old Scandinavian weave structure. And its five years old and used every day. This is the original design I created for this cloth, which later became the first of my lambswool throw designs and mother to all the later designs too.
So… your dough is nearly risen! Heat your oven to 200C for a fan oven, 220C for a conventional oven, at least 20 – 30 minutes before you are ready to bake to give the oven the chance to build up a solid heat.
Carefully wrap your loaf and tin in foil, leaving at least an inch of air space above the dough. I wrap it up as if it were a turkey – in a neat folded parcel. This is going to keep the steam in the area around the loaf and help it both rise, give it a good dark crust, and prevent it from becoming too hard or burnt.

Place the tin in the centre of your oven and bake for 1 hour, reducing to 160C / 180C after the first 30 minutes. Take your bread out of the oven and have a sneaky peak to see if it looks done. I know with my oven this should be long enough but not all ovens are the same. Don’t worry if it is still looking a bit pale or wet, just put it back for another 20 – 30 minutes.
Well, now you have your Rugbrød and I hate to be the bearer of bad news but tantalising as the smell may be you simply must not eat it just yet! I know! It’s terrible news, but if you do – and I’m not really saying you can’t, heaven knows I have not been able to resist the temptation a few times – well, I’m just saying, that if you do you are going to have a very crumbly loaf. Quite a lot of the crust is going to crumble away, and I know you could just pick it up and eat it like that, but really… it’s just not Danish! And it’s just not Rugbrød!
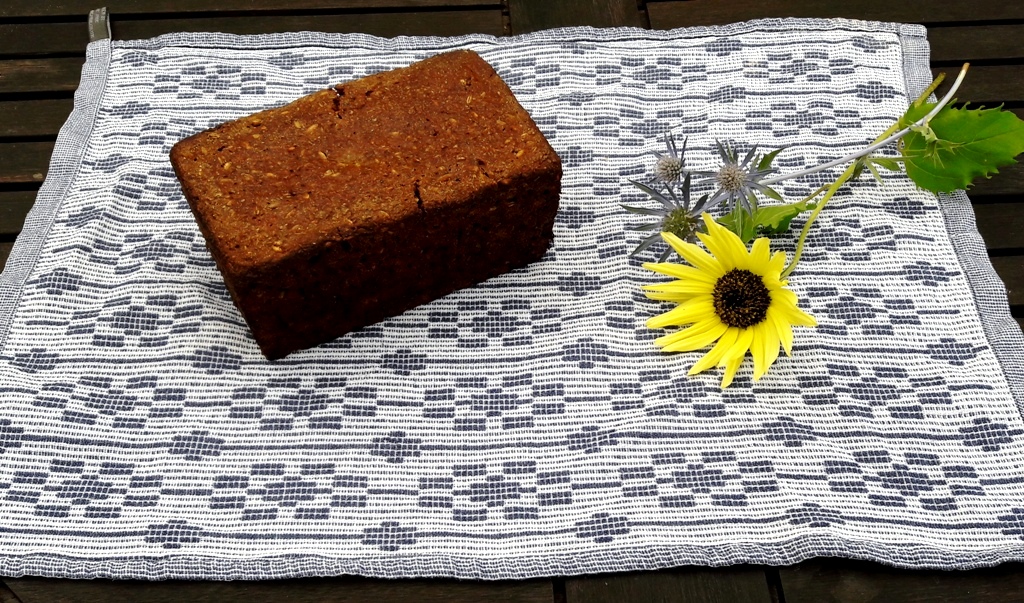
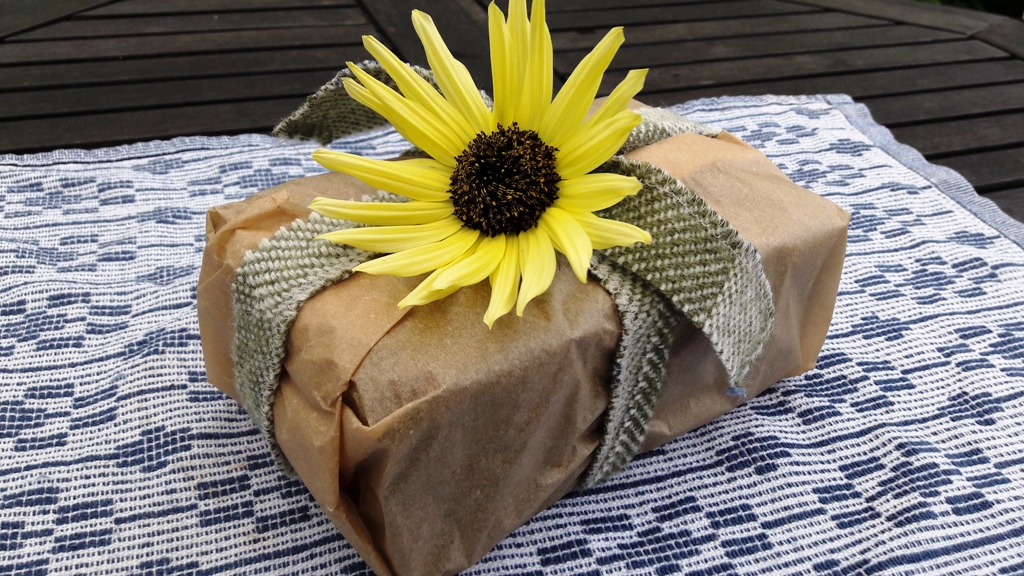
Trust me! Take a large sheet of baking parchment or greaseproof paper and wrap it like you wrap your Christmas presents. Tie it up neatly and put it away. I know! It’s just dreadful. But do it, and leave it for 2 days. Then you will have a loaf you can cut in those beautiful thin slices. Then you will be able to make beautiful open sandwiches just like the Danes do!
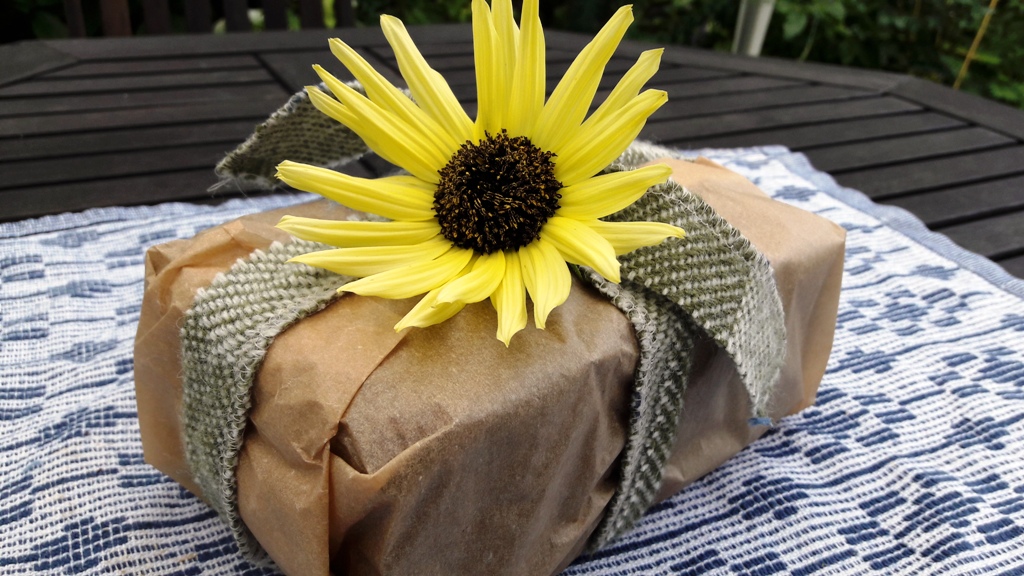
Finally, two days later and your Rugbrød is ready to slice. Just add butter, hard boiled eggs, potatoes, cheese, smoked salmon, pickled herring, something like blackcurrant jam or bramble jelly, and be happy.
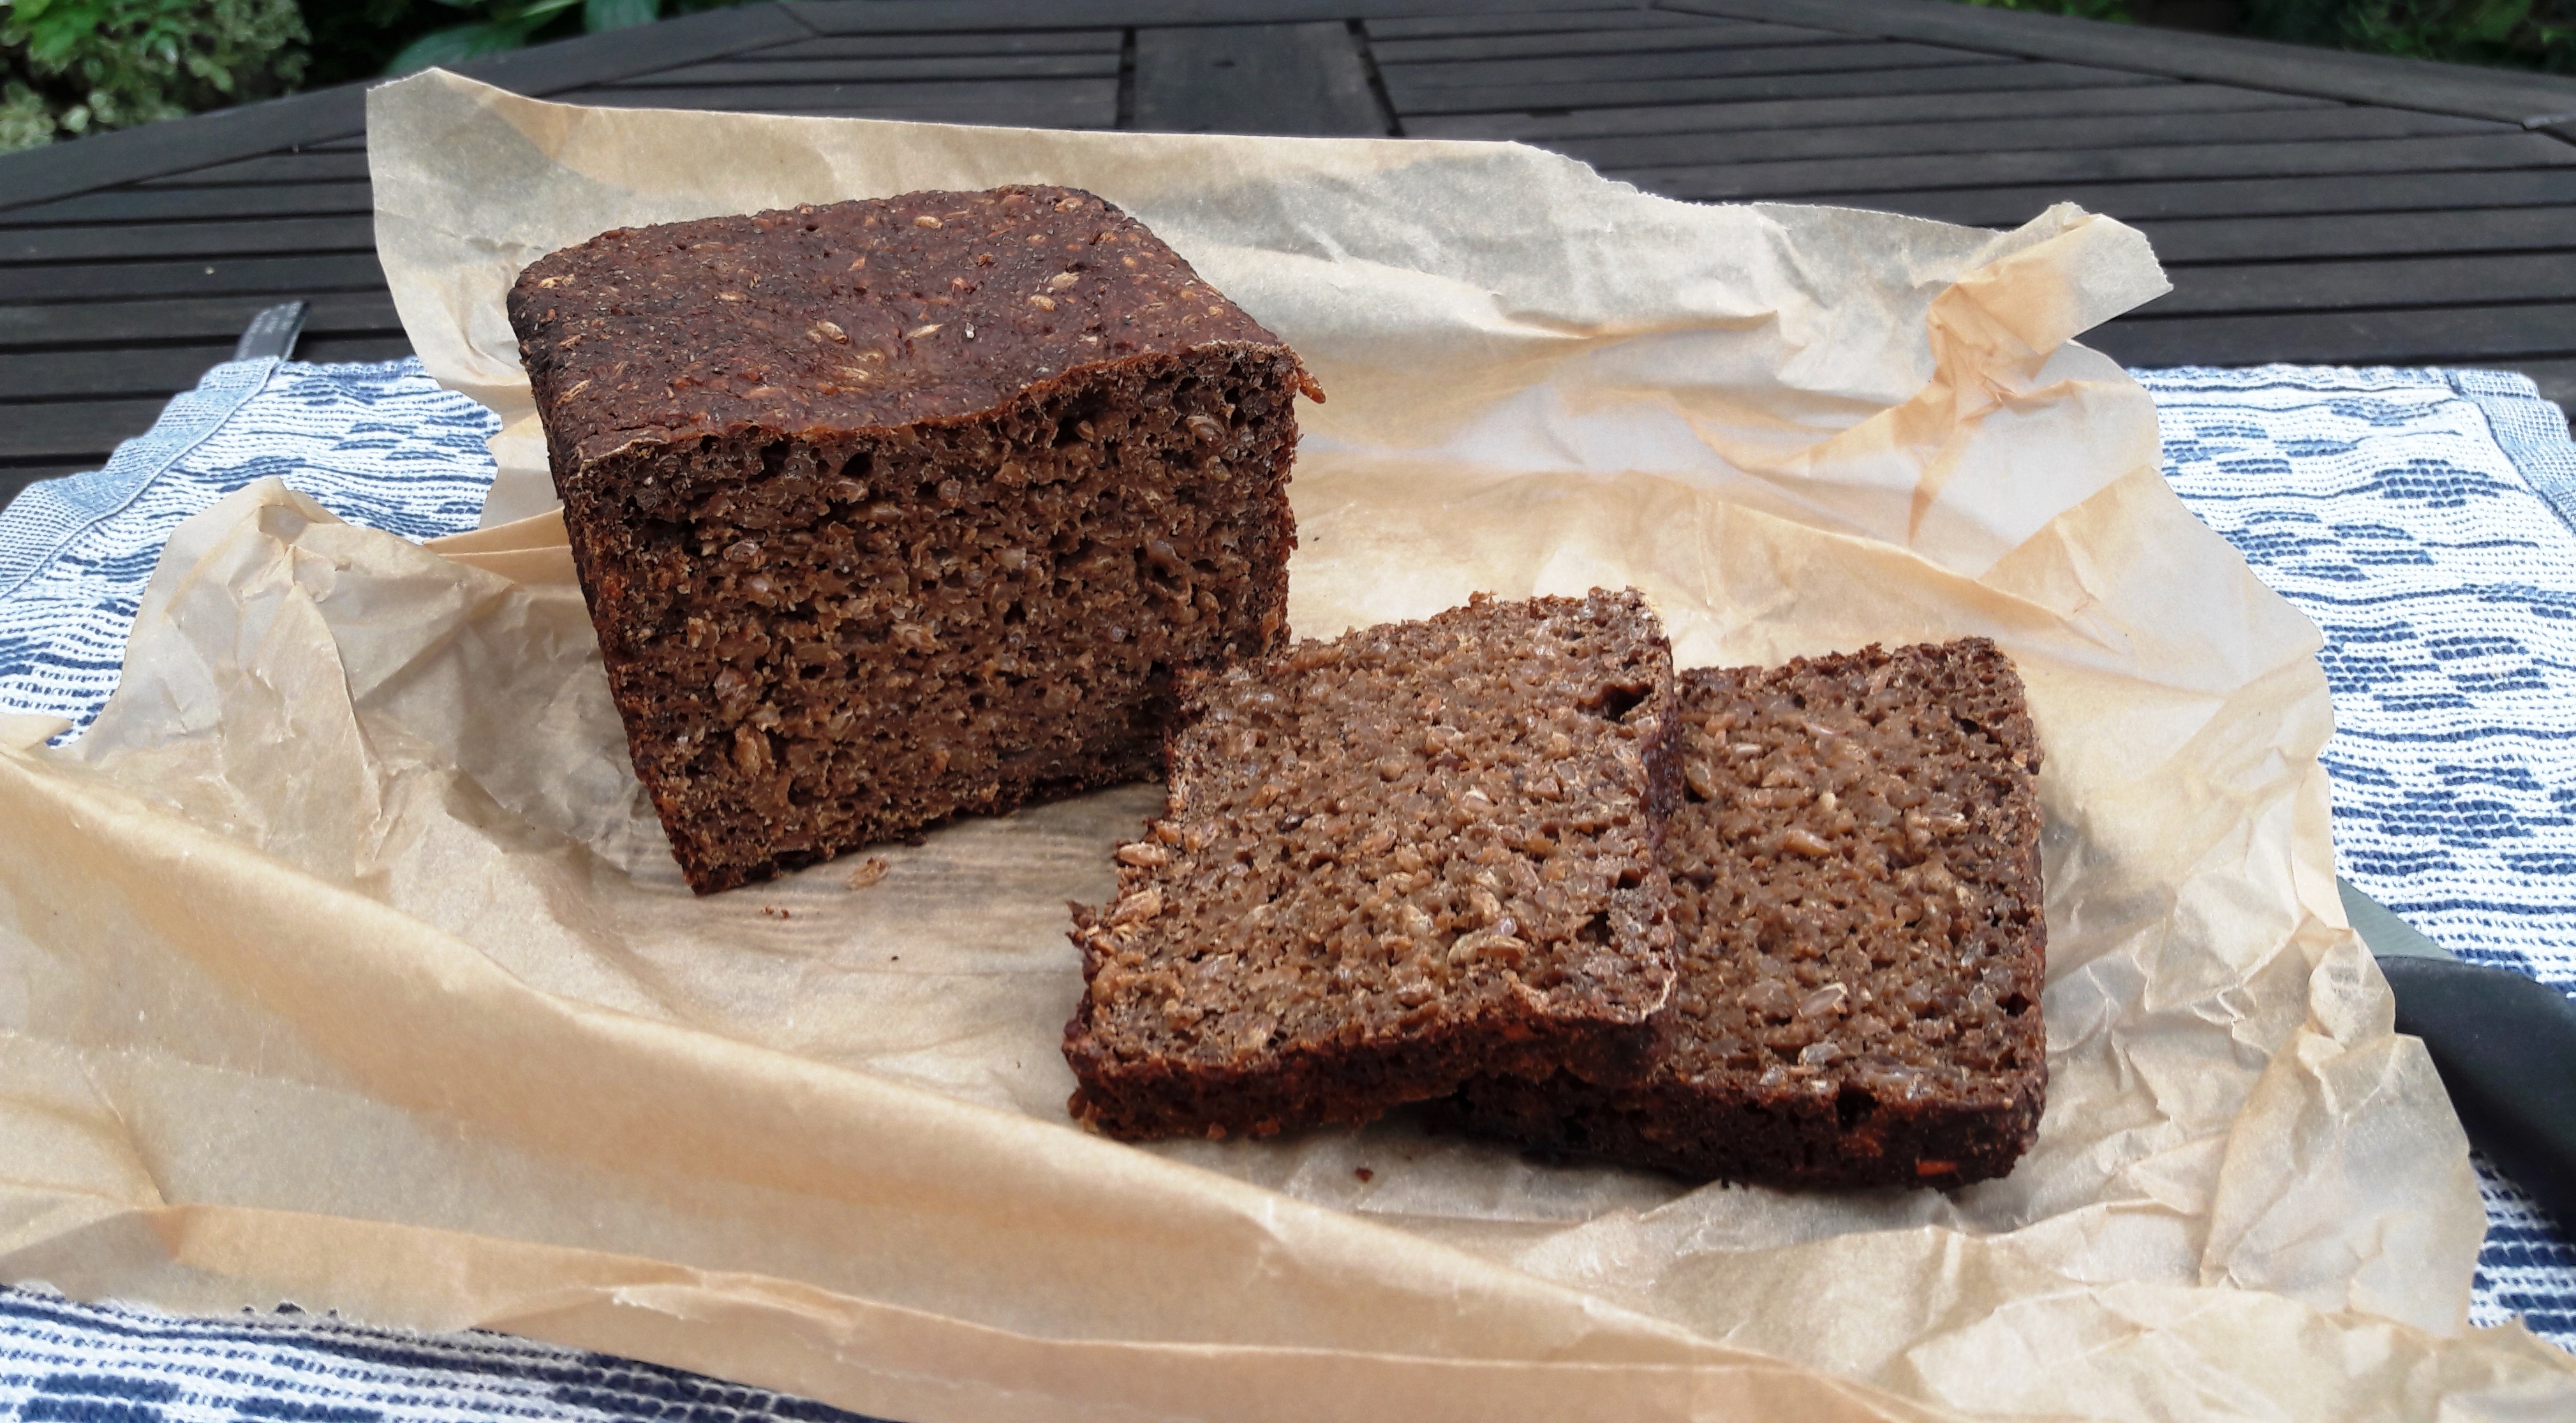
And don’t forget your Danish etiquette. No fingers. Knife and fork only please. J
Oh… did I say sourdough!
I’m sorry but I’m not going to tell you how to make your initial rye sourdough because there are plenty of excellent sources on the internet that will take you through this much better than I can and probably give you some lovely photos too. Dan Lepard and Richard Bertinet are two bread makers that I would recommend on sourdough starters and keeping your sourdough going.
But once you have your starter made, which could take you a week or so, then all you need to do in between bakes is add a bit of water and a bit of wholemeal rye flour, stir it up and return it to the fridge. Bakery Bits (see under suppliers) have some very clear instructions on keeping your sourdough happy and healthy.
For those who feel apprehensive about making their own starter I have found a couple of online suppliers for you. I can’t vouch for them as I have not used them myself, but maybe if you decide to buy from them and use my recipe you will let me know how it went and give your own recommendation.
Suppliers
I know that many supermarkets supply rye flour but finding the other ingredients can be more difficult. So here are the two online suppliers I use to help you on your way.
The Priors Flour
I buy my organic grain rye from The Priors. They produce artisan stoneground organic flours which are milled in a traditional wind powered mill, over 160 years old – Fosters Mill in Swaffham Prior, Cambridgeshire. It stands on the site of an earlier mill dating back to the 12th century. Shipton Mill sell their products direct from the mill and also through a number of partners. I buy mine from Bakery Bits – Organic Rye Grain.
Shipton Mill
I buy malted kibbled (cut) rye, organic cracked (chopped) rye, and organic dark rye flour direct from Shipton Mill. The combination of kibbled, cracked and whole rye grains gives the Rugbrød its distinctive texture. The mill is in Shipton Mill Wood, near Tetbury, Gloucestershire. This is a water mill and its history dates back to the Domesday Book and is open to the public. You can buy your flour and grains direct from the mill or via their website.
Sources for rye sourdough starters
As I said in my post I’ve not tried these starters but I hope that if you do you will let me know how it worked for you.
Bakery Bits sell a fresh rye sourdough starter made with organic rye.
Malt extract
In the UK we have many types of malt extract as it is used in home brewing of beer. I have used both Potters Malt Extract and Rayners Classic Malt Extract. I’m not providing links because they are so widely available these days from Amazon, Holland and Barrett, and most supermarkets, so you can choose your own preferred supplier.
I do hope you will try this recipe. Send me your comments if you do. Send me your comments any way! There’s a comment box at the bottom of this page.



Leave a Reply